top of page
  • Anna's Home Cooking
  • May 9, 2020
  • 2 min read

Updated: May 13, 2020

There are so many variations of this recipe. This one happens to be the kind that my family and I love! It includes a soft, melt-in-your-mouth vanilla cake. I take some fresh whipped cream and sweetened strawberries to fill it and top it! IT IS SO GOOD!


You can watch the video tutorial on my youtube channel!

ree


Ingredients:

For the cake:

  • 1/2 cup (or 1 stick) of softened unsalted butter

  • 3/4 cup sugar

  • 2 eggs

  • 1 Tbsp. vanilla extract

  • 1/2 cup sour cream

  • 2 1/4 cups all purpose flour

  • 1/2 tsp. salt

  • 1/2 tsp. baking soda

  • 2 tsp. baking powder

  • 1 1/4 cups whole milk


For the strawberry sauce:

  • 3 cups of sliced strawberries

  • 1 cup of sugar (you may not need as much if your strawberries are already really sweet; this is up to you!)

*Put the sliced strawberries into a large bowl. Pour the sugar on top and mix well. Let this sit on your counter for about an hour. Mix it every once in a while. The strawberries will release a lot of juice!


For the whipped cream:

  • 2 cups of cold heavy cream

  • 3 Tbsp. sugar

  • 1/2 tsp. vanilla extract

*In a large bowl, add all 3 ingredients. Using a hand held electric whisk, mix the ingredients together until you get stiff peaks. Keep your whipped cream in the fridge until you use it.


  1. Preheat the oven to 350 degrees. Spray a 9 inch springform pan with nonstick cooking spray.

  2. In the bowl of a standing mixer fitted with a paddle attachment, cream together the butter and sugar for a couple minutes until light and fluffy.

  3. Add in the eggs and vanilla. Mix well for another 2 minutes. Scrape down the sides and bottom of the bowl and continue to mix for another 30 seconds or so.

  4. Add the sour cream and mix for a few seconds. At this point, your mixture may look a little curdled, but that is normal and okay! :)

  5. In a separate bowl, briefly mix together the flour, salt, baking powder, and baking soda. Then add the dry ingredients to your wet mixture.

  6. While mixing on low, slowly add the milk to your batter. Mix only for 30 seconds until it comes together. Do not over-mix!

  7. Pour the batter into your prepared pan. Bake for about 45 minutes to an hour. Keep checking on it because every oven is different. When a toothpick inserted in the center of the cake comes out clean with no wet batter, you'll know it's ready!

  8. Let the cake cool completely in the pan. It will take about an hour or so.

  9. Once the cake is cooled, slice it in half lengthwise to create 2 layers. On the first layer, put as much strawberry sauce as you'd like. Then top it with whipped cream

  10. Put the second layer on top of that. I put it cut side up so it will soak up the strawberry juice better. Then do the same thing with the strawberries and cream. Use the rest of the cream over the entire cake.

  11. Serve with the remaining strawberry sauce and whipped cream on the side.


  • Anna's Home Cooking
  • Apr 27, 2020
  • 1 min read

I make this cake every year for my nephew's birthday. He LOVES it, and everyone else loves it too. This cake does not have a cookie texture; it is an actual cake that tastes like a cookie. Serve this warm with some vanilla ice cream and some chocolate syrup!


SERVES 6

ree


Ingredients:

  • 1/4 cup unsalted butter, softened

  • 1/4 cup sugar

  • 1/4 cup brown sugar

  • 2 eggs

  • splash of vanilla

  • 1 cup all purpose flour

  • 1/4 tsp. salt

  • 1/2 tsp. baking soda

  • 3/4 cup chocolate chips


  1. Preheat your oven to 375 degrees and spray a 9 inch cake pan with nonstick spray.

  2. In the bowl of a standing mixer fitted with a paddle attachment, cream together the butter and both sugars. Mix on medium speed for 2 minutes or until super creamy.

  3. Add in the eggs and the vanilla. Continue to mix for another 1-2 minutes.

  4. In a separate small bowl, briefly mix together the flour, salt, and baking soda. Add the flour mixture to your wet mixture. Mix for 30 seconds at the longest.

  5. Dump in your chocolate chips and mix for 10 seconds.

  6. Pour the batter into your prepared cake pan. Bake in your preheated oven for 15-20 minutes. I like to bake mine closer to 15 minutes because I like the middle to be a little gooey. Cook it as long as you prefer! :) Enjoy!


  • Anna's Home Cooking
  • Apr 25, 2020
  • 2 min read

Updated: May 16, 2020

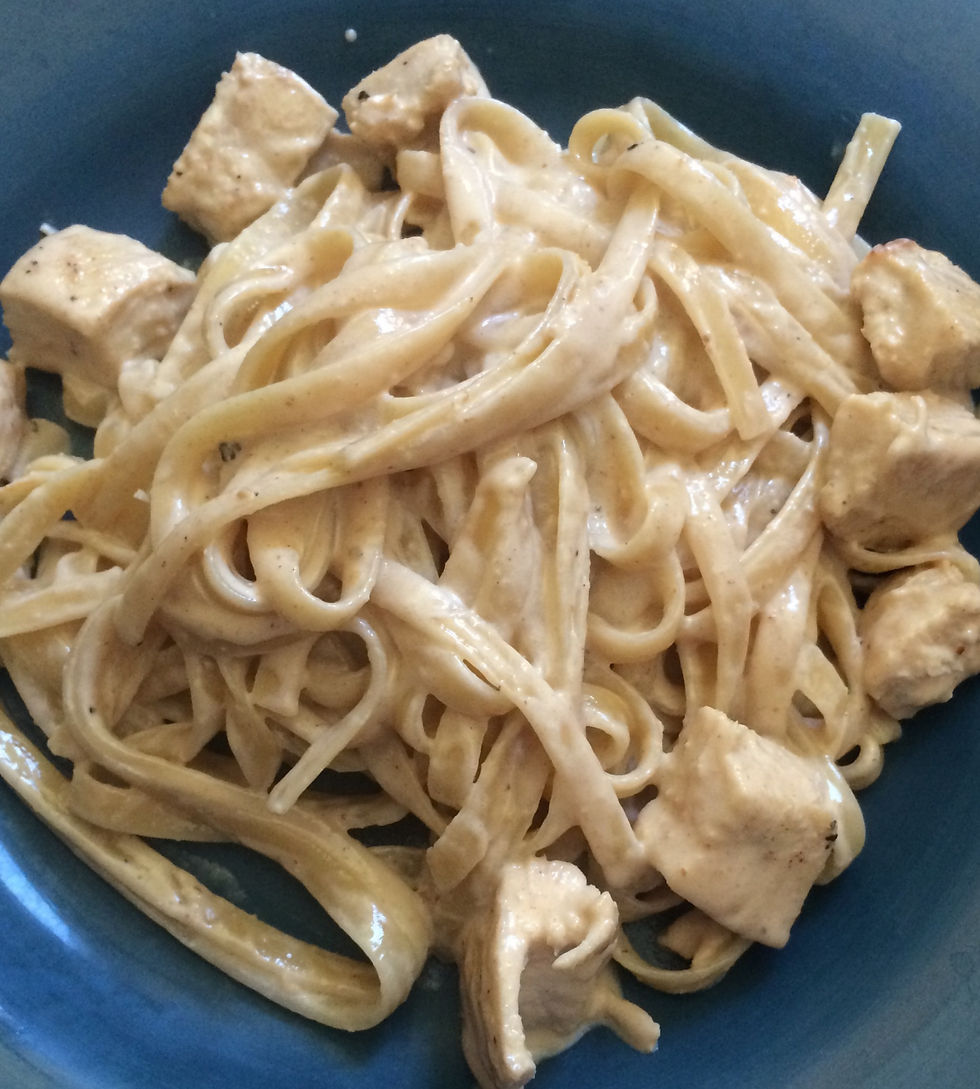
Ok. This is not a diet food. But it is the best chicken alfredo you could possibly eat. Definitely restaurant quality! Pair this with some roasted veggies and crusty bread, and you'll have the best dinner ever.


SERVES 6-8

ree

Watch my YouTube video tutorial!


Ingredients:

  • 3/4 of a lb. (12 oz.) of pasta (use ANY PASTA you like! Sometimes I use penne, sometimes I use angel hair spaghetti... it depends on my mood and what I have on hand)

  • 4 thin slices of chicken breast

  • 2 tsp. garlic powder

  • 2 tsp. onion powder

  • 1 tsp. paprika

  • Salt & pepper, to taste

  • 1 stick of butter (you will use this a little at a time, not all at once; and you may not even use it all)

  • 2 1/2 cups heavy cream

  • 2 cups of freshly grated Parmesan cheese


  1. In a large pot, bring some water to a boil. Add a generous pinch of salt.

  2. Season the chicken on both sides with the spices and salt/pepper.

  3. Put 2 Tbsp. of your stick of butter into a large skillet on medium heat. Cook the chicken in the butter until fully cooked through, about 2-3 minutes on each side. If you are using thicker chicken breasts, it will take a bit longer. Keep adding butter as you need it.

  4. Remove the chicken to a clean plate to cool a bit while you make the sauce. Add in some more butter and all of the heavy cream. Season with salt and pepper. Be careful to not add too much salt, because the Parmesan is quite salty. You can always add more salt at the end.

  5. Let the butter and cream cook on medium for several minutes until thickened. Stir frequently. At this point, add in your pasta to the boiling water.

  6. Add in all of the Parmesan cheese. Cook another 2 minutes until creamy. Taste for seasonings.

  7. In the meantime, cut up or shred your chicken and add it to back to the sauce to warm through. Drain your pasta well and add to your sauce.

***If the sauce seems too thick, you can always add more heavy cream to thin it out!***


© 2023 by APPETIZING ADVENTURES. Proudly created with Wix.com

bottom of page